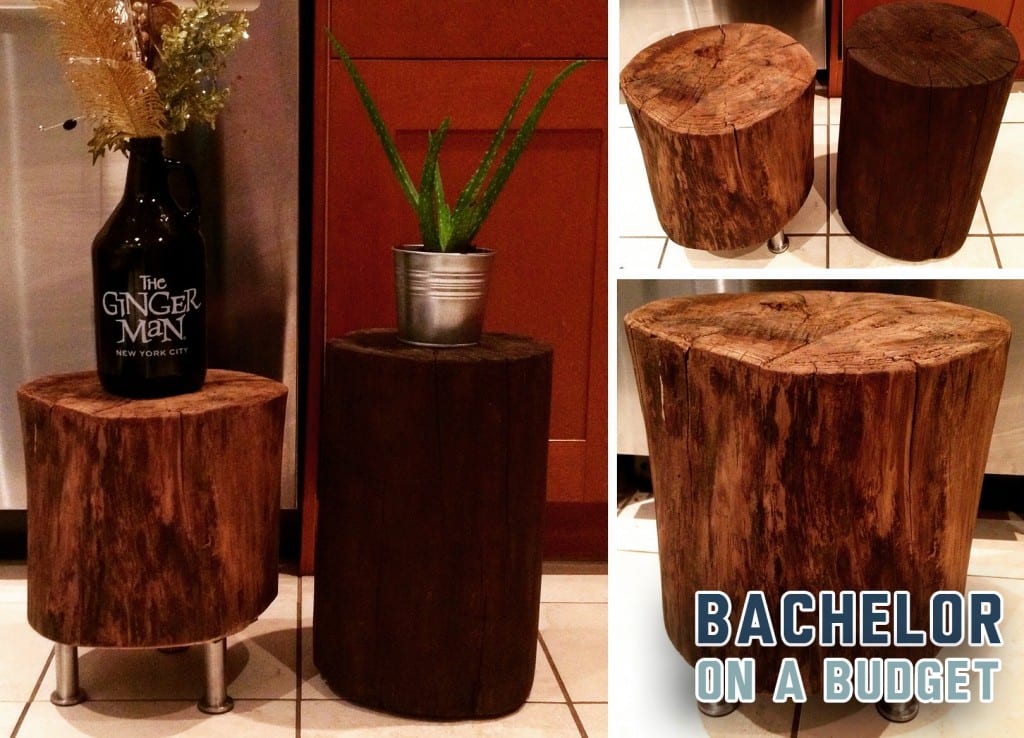
DIY Tree Stump Side Tables
This is a project that I've been wanting to tackle for a while. The hardest part for me was finding the tree stumps. I lucked out when I was visiting my sister’s new home and saw two lonely, muddy stumps in her backyard – score! The rest of this project uses materials that most do-it-yourselfers will already own, so costs are minimal. I made each for about $15 - which is pretty amazing considering these stumps sell for around $200 at stores such as West Elm.
Follow along below to learn how to make a tree stump side table.
Materials
- Tree Stumps
- Furniture Legs (Stainless Steel, 6 - 8")
- Sandpaper
- Wood Stain (and paintbrush)
- Drill
- Chainsaw (if necessary)
Step 1 – Cut and Dry Out
A freshly cut log will need to dry out for at least a month before finishing and bringing it inside. When the stump is no longer damp, all of the bugs inside should be gone and you will notice that it weighs a lot less too! I was a bit worried that bugs could still be living in the deep crevices of my logs, so I sprayed them with insecticide and sealed them in plastic bags overnight. Storing the wood in a garage can speed up the drying process.
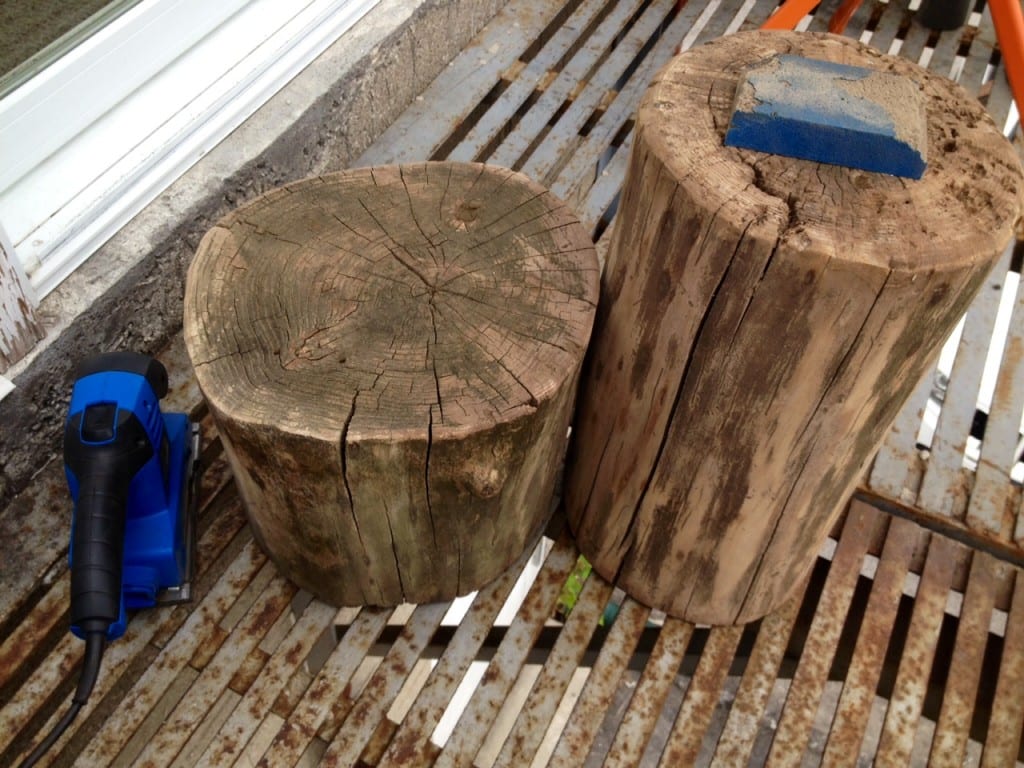
Step 2 – Sanding and Smoothing
Although it varies depending on the type of tree, any bark on the log should be easier to remove once it is dried out. A hammer, chisel or pry bar can be used to loosen the bark if necessary. If you don’t remove the bark now, it will eventually fall off when you move it inside (making a mess on your floor).
Since my tree stumps had already been sitting outside for a year, I didn’t have much work to do up until this point. An unrefined tree is rough - it took a lot of muscle and sanding with a Medium Coarse Sponge to level out the surfaces. I used a power sander to finish off the stumps and get them to the desired smoothness.
Step 3 – Staining and Finishing
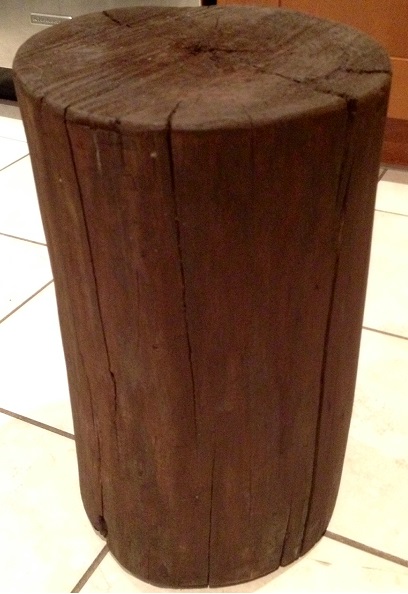
I originally thought that the stumps would look good with a darker stain (Minwax Dark Walnut). I was glad that I tested this out on the taller stump first, because it turned out to be a little too dark for my liking. 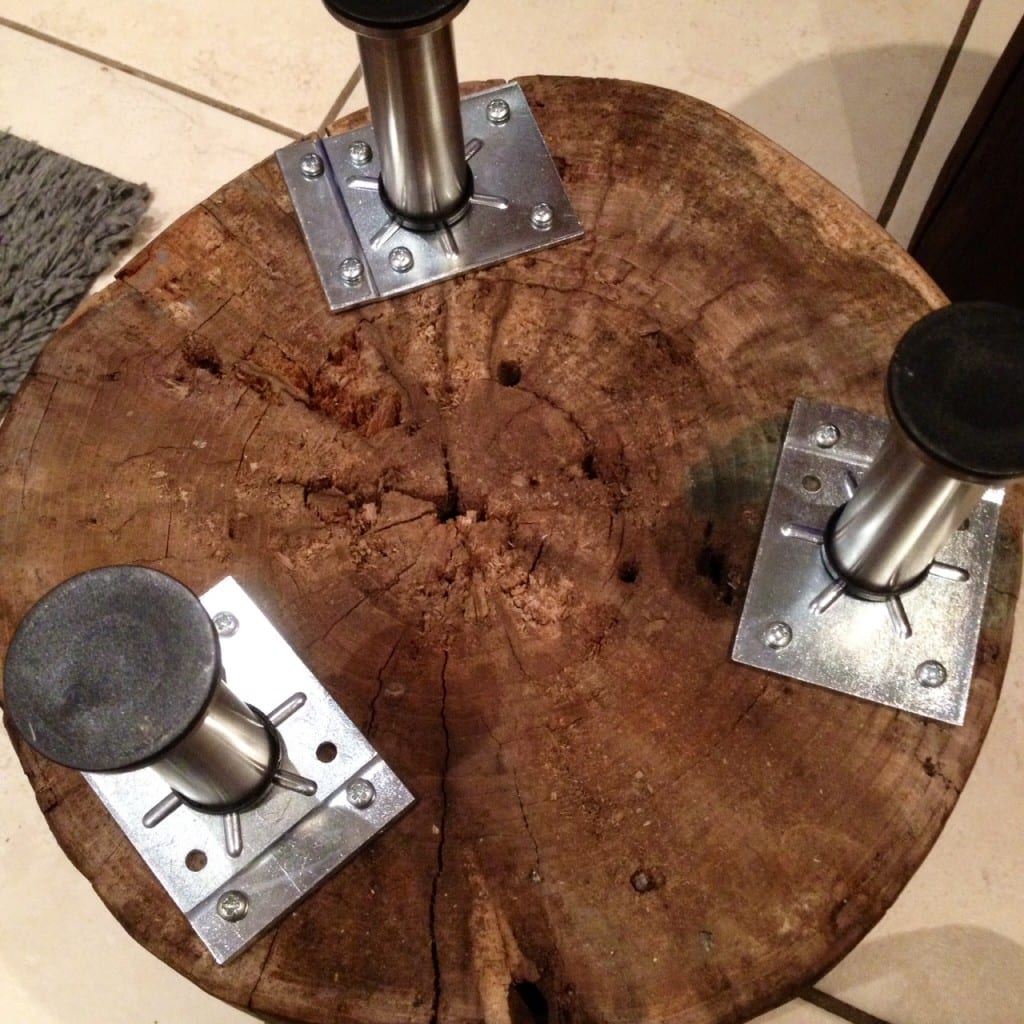
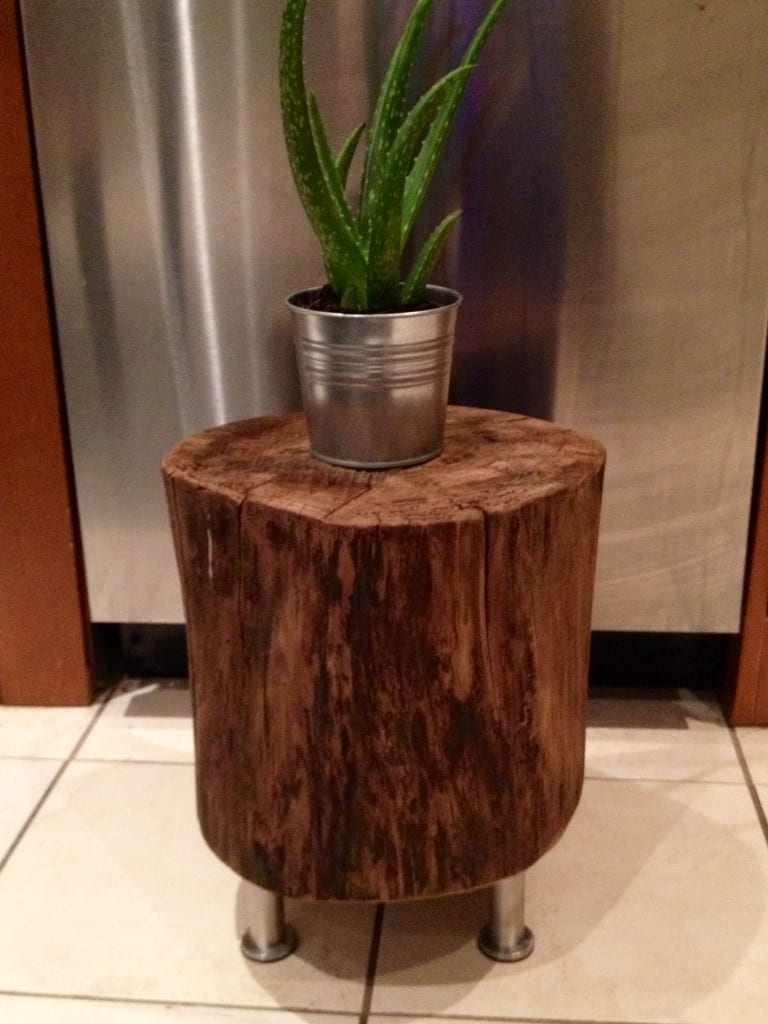
For the shorter second stump, I opted to use a lighter stain (Minwax Golden Oak). In my opinion this stain looks better since it doesn't conceal the wood grain as much. This was the same stain that I used for my coffee table and couch sleeves.
Since the darker tree stump was already fairly tall, I chose to only put the legs on the shorter stump to level them out. I settled on the Capita legs from Ikea because I like the industrial look, and the fact that they are adjustable (from 6.25” – 6.75”). They also came with the hardware and brackets needed for simple installation. Since I didn’t have much surface area, I decided to use 3 legs instead of 4. Use a tape measure and mark the placement of the legs with a pencil before drilling the brackets into place.
It may take a while to see the finished product, but most of this time will be spent waiting. It is important to let the stumps dry out completely before starting the process. The actual hands on work should only take an afternoon or so. And there you have it, you no longer need to be ‘stumped’ about how to make these Log Side Tables.