DIY Drop Leaf Kitchen Island / Cart
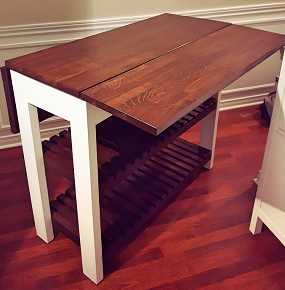
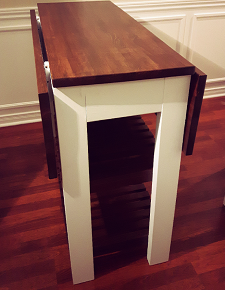
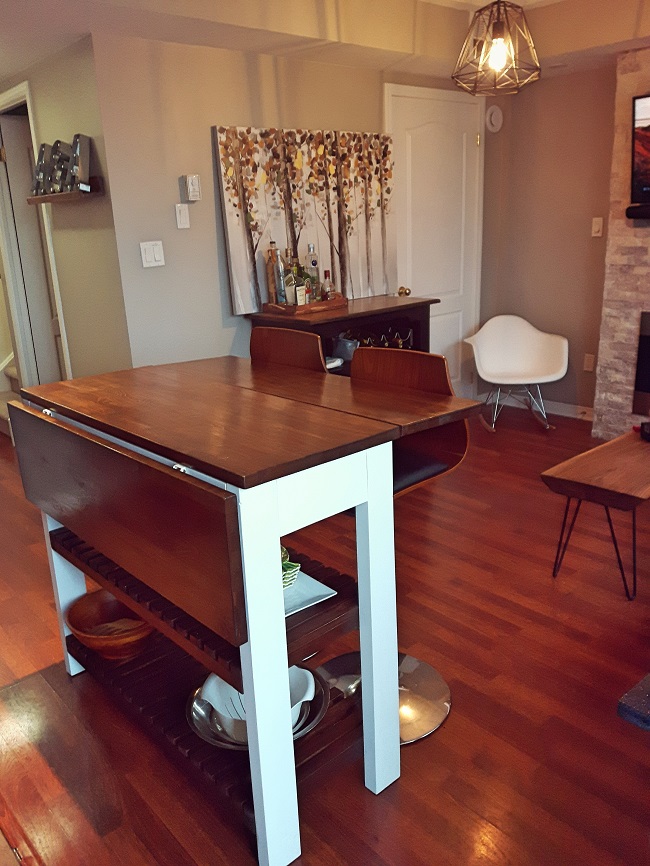
When I recently moved into a space with a kitchen and living room attached, I quickly realized that I wouldn't have room for a full size dinner table. I think a lot of condo / apartment dwellers are in this situation, especially in a city where small spaces are the norm. I had seen extendable kitchen tables but none fit the bill, I was looking for something more compact. I also liked the idea of a bar / island with storage underneath, and I had noticed some had a drop leaf on 1 side which would be useful – but why not have 2 leafs for more dining space? When I decided to build my own table to fit these requirements it was difficult to find any plans out there, especially with drop leafs. Through lots of experimenting and research I finally built what I had envisioned: a kitchen island / bar with cart storage and two folding table leafs which expand to about 31/2 feet squared of eating / drinking area. I went through this trial and error process so you don’t have to, now read on and learn how to build your own DIY drop leaf kitchen island / cart with these free plans.

Cut List for Wood:
- 144” of 4” x 2” poplar (4 pillars cut to 36” each)
- 212” of 2” x 2” pine (4 pieces cut to 17” and 4 pieces cut to 36”)
- 612” of 2” x 1” pine (36 cross slats cut to 17”)
- 98” of 5” x 3.5 pine” (2 side skirts cut to 10” and 2 cut to 39”)
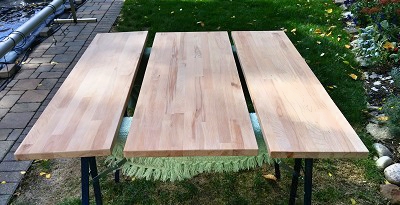
- 41.5” x 44” wood for the top surface (or butcher block - I used Ikea’s 98” birch Hammarp)
Other supplies:
- Minwax Special Walnut Stain
- Minwax Wipe-on Poly
- Minwax Pre-Stain wood conditioner
- White Paint (I used Rust-oleum Linen White)
- Corner Braces / Brackets
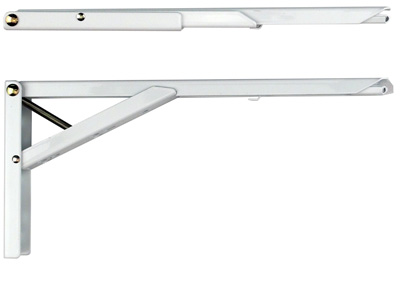
- Drop Leaf Brackets / Folding Shelf Support Hardware (I used these)
- Sandpaper
- Screws
- No more nails adhesive


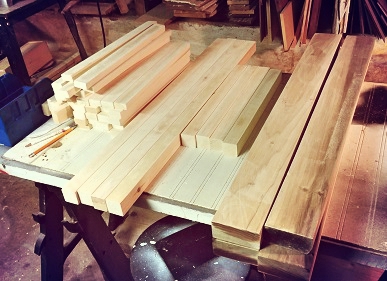
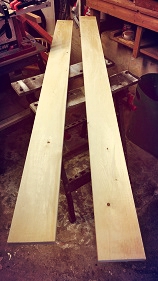
Step 1 - Cut and Sand I purchased most of my lumber from the Home Depot, however the poplar came from a local wood shop that I initially went to purchase 4 x 4’s for the pillars / legs. I chose poplar for these pieces since they would be painted white and it is much nicer to paint than pine. I had my lumber pre-cut to lengths that would fit in my car. Luckily my dad has a basement full of tools that allowed us to do the rest of the work. See the cut list above for the exact measurements. After your pieces are cut, using medium or fine sandpaper (between 100 and 220 grit) and give all of the pieces a smooth sanding.
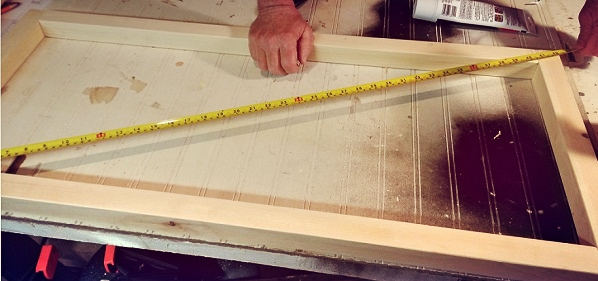
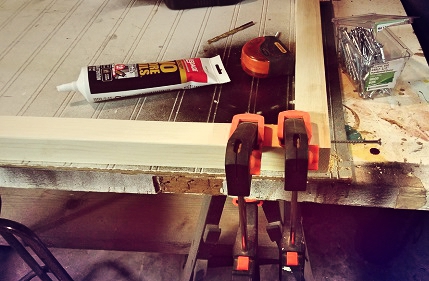
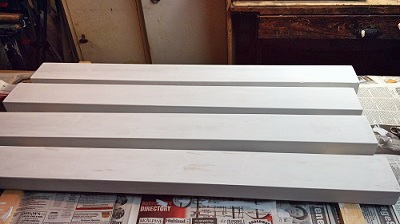
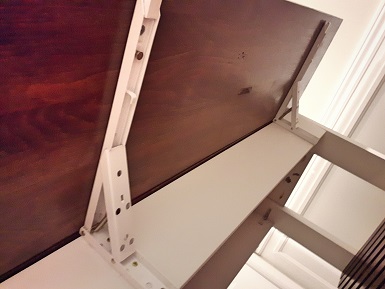
Step 2 - Assembly (part 1)First, we assembled the part of the frame that will be stained. Build two 36” x 17” rectangles (shown above) out of the 2” x 2”s. I applied ‘No More Nails’ to the ends, and then clamped the glued pieces together (shown below) before screwing them all one piece at a time. As shown below, make sure that the rectangles are squared (even) before putting in the last screws, since this frame will help dictate the shape that the rest of your kitchen island will take.
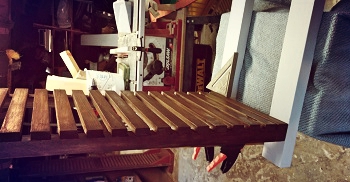
Next the 17" cross slats can be added to the completed rectangular frames. We used a 3/4” thick spacer in between each piece to ensure that they were spread out evenly (see below). You can then use a nail gun or screw in the cross slats. We used 18 pieces on each side. 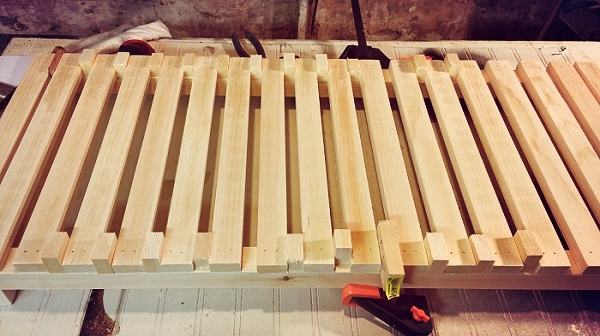
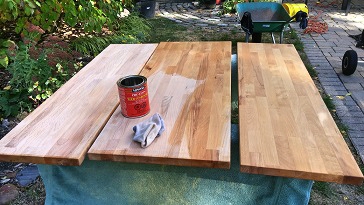
Step 3 - Paint / Stain Even though this can be the most time consuming step (due to the waiting) painting and staining is still probably my favorite part. Just make sure that you prep properly. Get any dust off of your lumber with a clean cloth and make sure that you are painting either inside in a well-ventilated area or outside on a clear day with the temperature ideally between 40°- 90° F.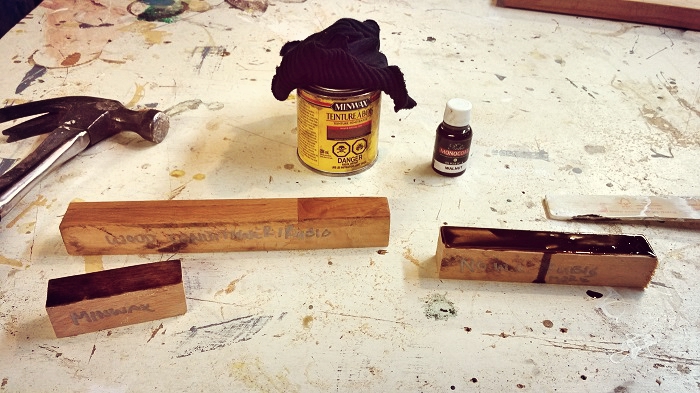
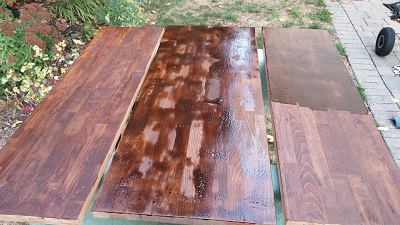
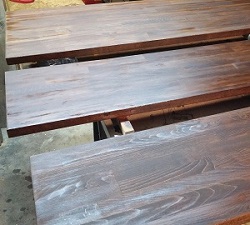
Stain – Since I was using butcher block for the top I originally wanted to use a VOC free stain to allow for food preparation on the surface. I had already stained the bottom and middle racks with Minwax Special Walnut, so I picked up a walnut colored food safe stain from the company Rubio Monocoat. When I applied the stain to the top it hardly changed color at all, and did not match the previously stained walnut wood (see stain tests in above image). I decided to also use the matching Minwax on the top instead of Rubio, and forget the idea of prepping food on the island. Apply pre-conditioner to the wood before staining (to avoid blotchyness) and follow the directions and waiting times outlined on the packaging. After staining, I used about 7 coats of Minwax’s Wipe-on poly on the top (less on the bottom side) and it made all the difference. I was really going for the glossy look, and as an added bonus water beads nicely on top (no stains). You can use fewer coats which will save waiting time, but I wanted to make sure that it was as durable as possible.
Paint the pillars - I first used a basic white trim paint that I had left over for the legs / pillars. Once it dried I realized that it wasn’t the shade that I was going for, and I ended up using white chalk paint instead (Rust-oleum Linen White). I would give the painted and stained / poly’d pieces at least a few days to dry or else the finishes may rub off during assembly.

Step 4 - Assembly Part 2 You will need your clamp and square again for this step. Make sure you drill pilot holes before screwing in the remaining pieces. I would recommend assembling the bottom half of the frame first before the top half.

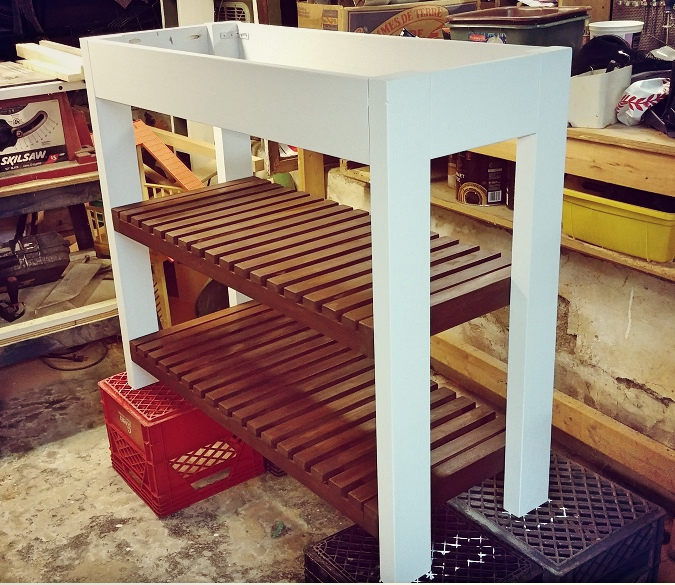
For the side skirts and top butcher block I used the brackets shown below and shorter screws.

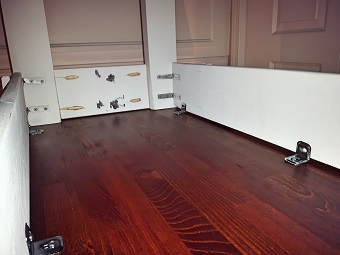
Drop Leaf Brackets – I actually ordered two other sets before I settled on these. It is difficult to find any hinges that will hold the weight of the drop leafs properly and function in such a smooth, discreet way. You may find cheaper ones where you live, but I can vouch for the quality and service of the ones shown below.
I hope that this article provided you with enough instructions to build your own DIY Drop Leaf Kitchen Island / Cart. It took a lot of trial and error to complete this project so if you do go through with it these tips should definitely help to save you time and money when building your own kitchen island.