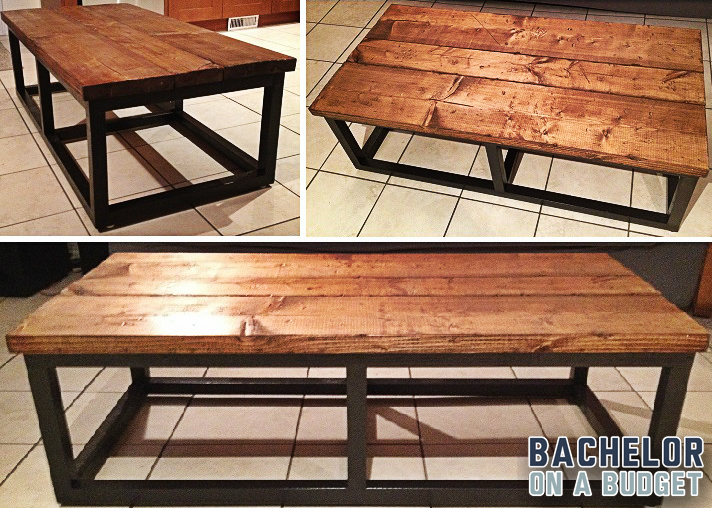
DIY Coffee Table: Modern with Reclaimed Wood Look (Under $60)

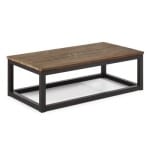
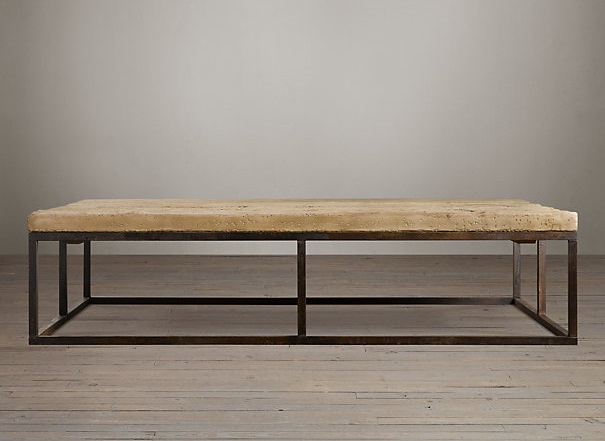
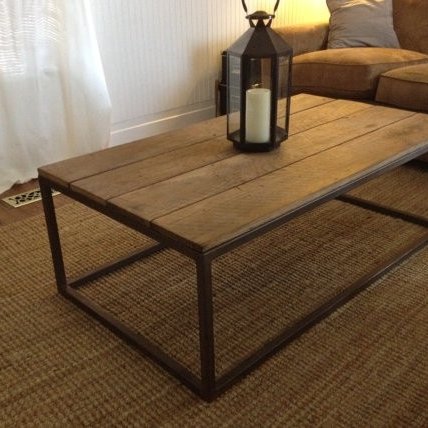
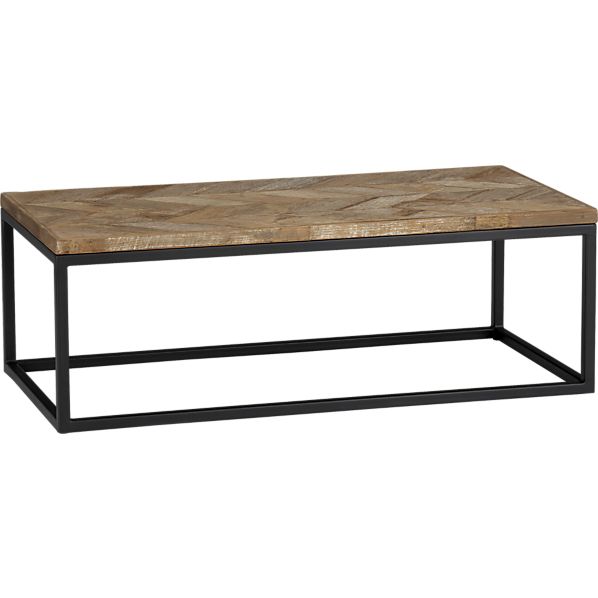
As you can see this is a popular style of coffee table. All the more reason you should be able to do-it-yourself.
What about those steel legs/frame? Don't know how to weld?
We're going to replicate the look with some pine 2" x 2"s sprayed with metallic paint. A thick coat of oil rubbed bronze and polyurethane (optional) gives the frame a steel look.
Materials
- Four 2 x 2 x 8 pieces for the frame (make sure these are straight) [$10]
- One 2 x 10 x 10 piece for 2 of the top slats (it can be in rough condition - reclaimed remember) [$10]
- One 2 x 10 x 8 piece for the middle slat (you will have about half of this left over) [$5]
- Oil Rubbed Bronze Metallic Spray paint [$10]
- Wood Screws (100 pieces - 8 x 2 size) [$6]
- Wood Glue [$7]
- Wood Stain (Minwax Golden Oak #2108) [$8]
For a total of $56. Here are some materials that I already had:
- Screw hole filler putty
- Polyurethane
- Palm Sander and Sandpaper
- Clamps
- Drill
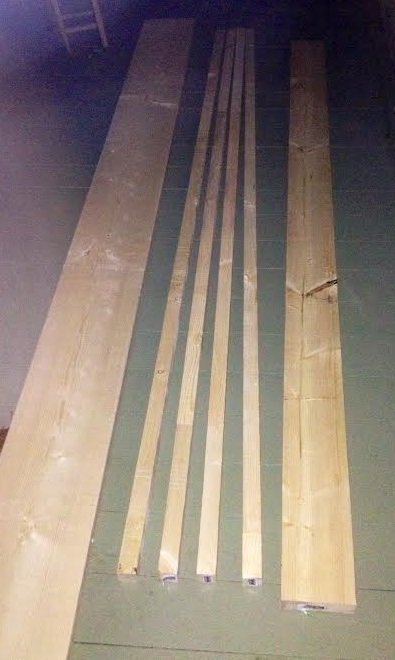
Step 1 - Make Your Cuts:
From the 2 x 2 x 8's:
- Cut 4 pieces at 47.5" (for the length of the frame)
- Cut 6 pieces at 10.75" (for the vertical legs)
- Cut 6 pieces at 19.25" (for the width of the frame)
From the 2 x 10 x 10:
- Cut 2 pieces at 48.5" (for the 2 outside top slats)
From the 2 x 10 x 8:
- Cut 1 piece at 48.5" (for the middle top slat)
- This middle slat needs to be narrower than the 2 outsite slats, so reduce the width to 5.5"

Step 2 - Sanding
Start by sanding the 2 x 2 x 8's for the frame until the wood is as smooth as possible - any rough spots will take away from the metal look.
I sanded the ends of the top slabs to remove any possible causes of splinters. I left the top and bottom raw for now - part of the reclaimed look.
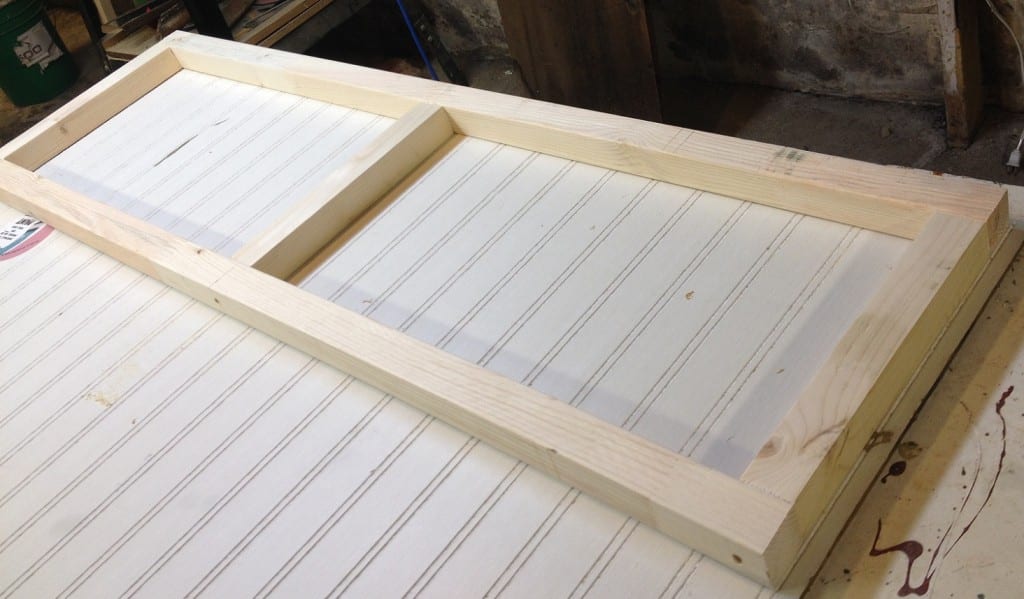
Step 3 - Assemble the Frame
It is important to use your wood glue on each joint before screwing them in, we want this table to be sturdy. I did each side of the frame (one at a time), connecting with wood glue and then screwing together (using a counter sink is a good idea). Once both sides are complete, they can be connected with the middle pieces (you may need to screw them together off center to avoid the existing screws in the wood).
Tip: Use a set square (right angle tool) before screwing in each piece to ensure that they are square. It is a good idea to level as well. You don't want coffee spilling all over your reclaimed wood!
Fill any screw holes with a generous amount of putty. Spread it around any uneven joints as well, the frame needs to be smooth.
Step 4 - 'Reclaim' the Wood
Now for the fun part. Find whatever tools you have around the shop - hammers, chains, nails, screwdrivers, etc. Bang away on the top slats until you have the vintage look that you want. After you stain the top, any holes will be a nice dark hue.
Tip: Although mainly non-uniform, some marks -such as nail holes (with the nail pryed out) should be in certain places to look realistically reclaimed.

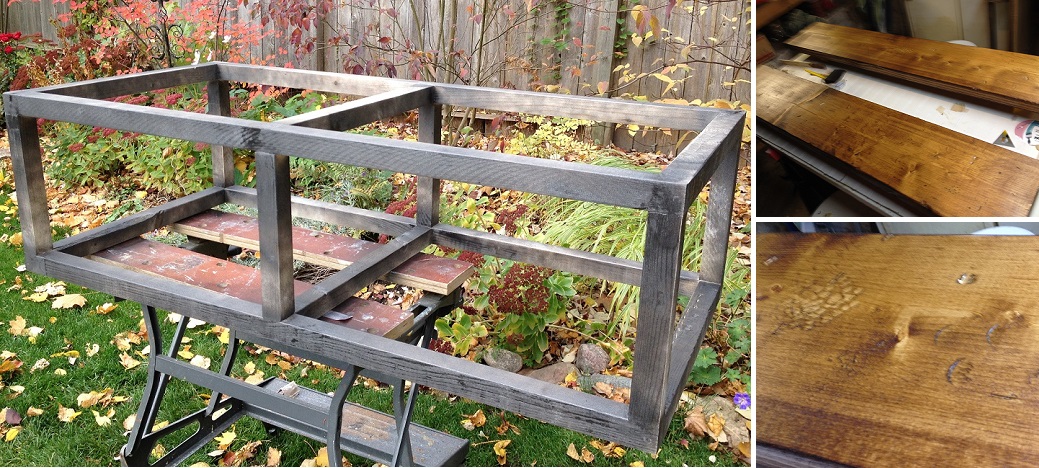
Step 5 - Painting
After the putty in the screw holes has dried (about 12 hours), give the whole project a quick sand to smooth out any areas with excess putty. You should now be ready to paint.
I started with the frame, misting a light layer over the pine. You can add another layer about every 20 minutes. Use as much as necessary until you have a thick, rich coat without the wood grain showing.
In between waiting for the frame to dry I stained the top slabs. Make sure that the stain reaches into each nook and hole in the wood. One coat should be enough, followed by two coats of Polyurethane to protect it and give it a nice shine.
Step 6 - Putting it all Together
Invert the frame over the bottom side of the top boards. Square everything up and screw the frame to the top from the underside so that no screws are visible once the table is turned right side up. Use lots of screws when attaching the top to the frame to prevent the boards from warping/ bowing and becoming uneven over time.
Optional: I added furniture felt pads to the bottom of my coffee table since it's easier and safer to move on tile.
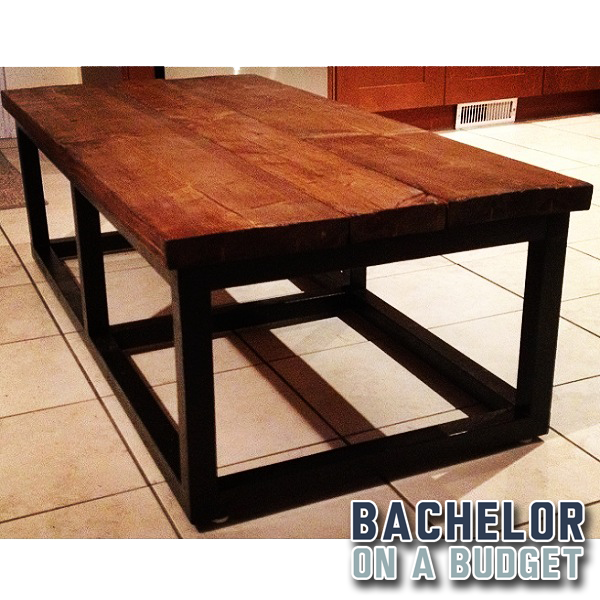
The final dimensions of the coffee table are 48.5" length x 23.75" width x 15.75" height. Here she is:


Special thanks to House Updated and HoneyBear Lane for their plans, and to my Dad for helping me out with this DIY coffee table.