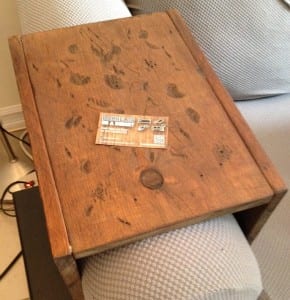
DIY Couch Sleeve (Wood Arm Rest)
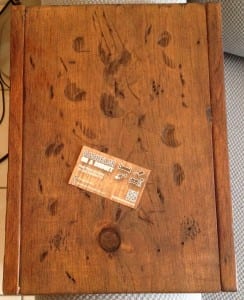
If you frequent Etsy or Pinterest, you will see that this DIY couch sleeve is quite popular. Some versions are being sold on Etsy for up to $300. I made this version for under $10. It may not be as refined as the couch arm wraps sold online, but it does the trick considering my lack of tools in the shed.
Follow along with these easy instructions to make the couch sleeve in a few hours for less than $10.
1. Measure the armrest on your couch. Mine are rounded, which may seem like it could be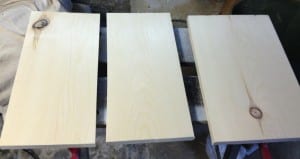 unstable, but as long as you measure properly and the vertical pieces sit flush against the couch then you will be golden.
2. Procure your materials. I picked up a 8 x 4 x 2 piece of pine from Home Depot for about $5. This was the perfect amount of wood to make my sleeve. You will also need wood glue and your choice of stain. I already had these materials kicking around.
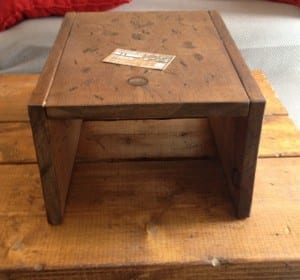
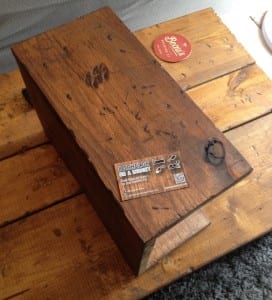
3. Make your cuts. Cut the three different pieces to the appropriate length as you measured in step 1. I made the mistake of not allowing enough width on the top piece to allow for the joining of the two vertical pieces which take up about 1.5” of width combined. So, ideally you should add the measurement of the thickness of the wood to the width of the top piece. This will allow you to attach the vertical pieces from underneath, unlike how I was forced to add them to the sides of the top piece as shown in the below image.
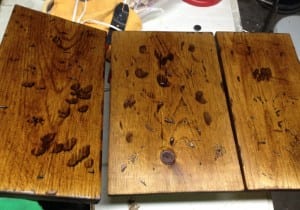
- Sand, Reclaim and Stain. After you sand that baby down smooth, it’s time to personalize it by 'reclaiming' the wood. I wanted it to match my DIY Coffee Table, so I roughed it up with a hammer, nails, chain, and anything else I could find (see above). After this you can stain it. I used Minwax Golden Oak stain.
- Assembly. Once the stain on the stain on the wood dries, you are ready to attach the pieces together. I used wood glue and it has held up well. If you want some extra security you can also use wood screws or nails.


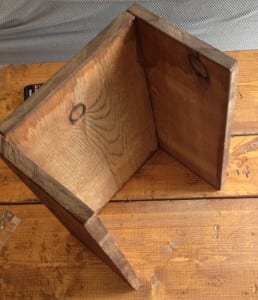
- Your couch sleeve should now be ready for action. Make sure the stain on the underside is completely dry before putting on your couch, or the color could transfer. I used less stain on the underside for this reason, as shown above.
So there you have it. No angled joins or kreg jig needed. It’s time to kick back with a beverage while your armrest supports it. The functionality and aesthetic makes it the perfect piece for your Bachelor Pad.

